This is the heading

Featured Products
Contact Details
Additional motorcycle lights - Frequently Asked Questions

Auxiliary lights are often mounted on the fork, under the main headlight, or on the crash bars. Placement depends on your motorcycle's design and your personal preferences, while ensuring not to obstruct the main light beam or the controls of the motorcycle.

It is crucial to connect the lights to the motorcycle's electrical system in a secure manner. Use a relay and a dedicated fuse to protect the circuit. It is often recommended to wire the lights so that they turn on only when the engine is running, in order to avoid draining the battery.

In most cases, it is not necessary to modify the existing electrical system, provided that a relay and a dedicated circuit are used for the additional lights. This prevents any overload of the motorcycle's electrical system.

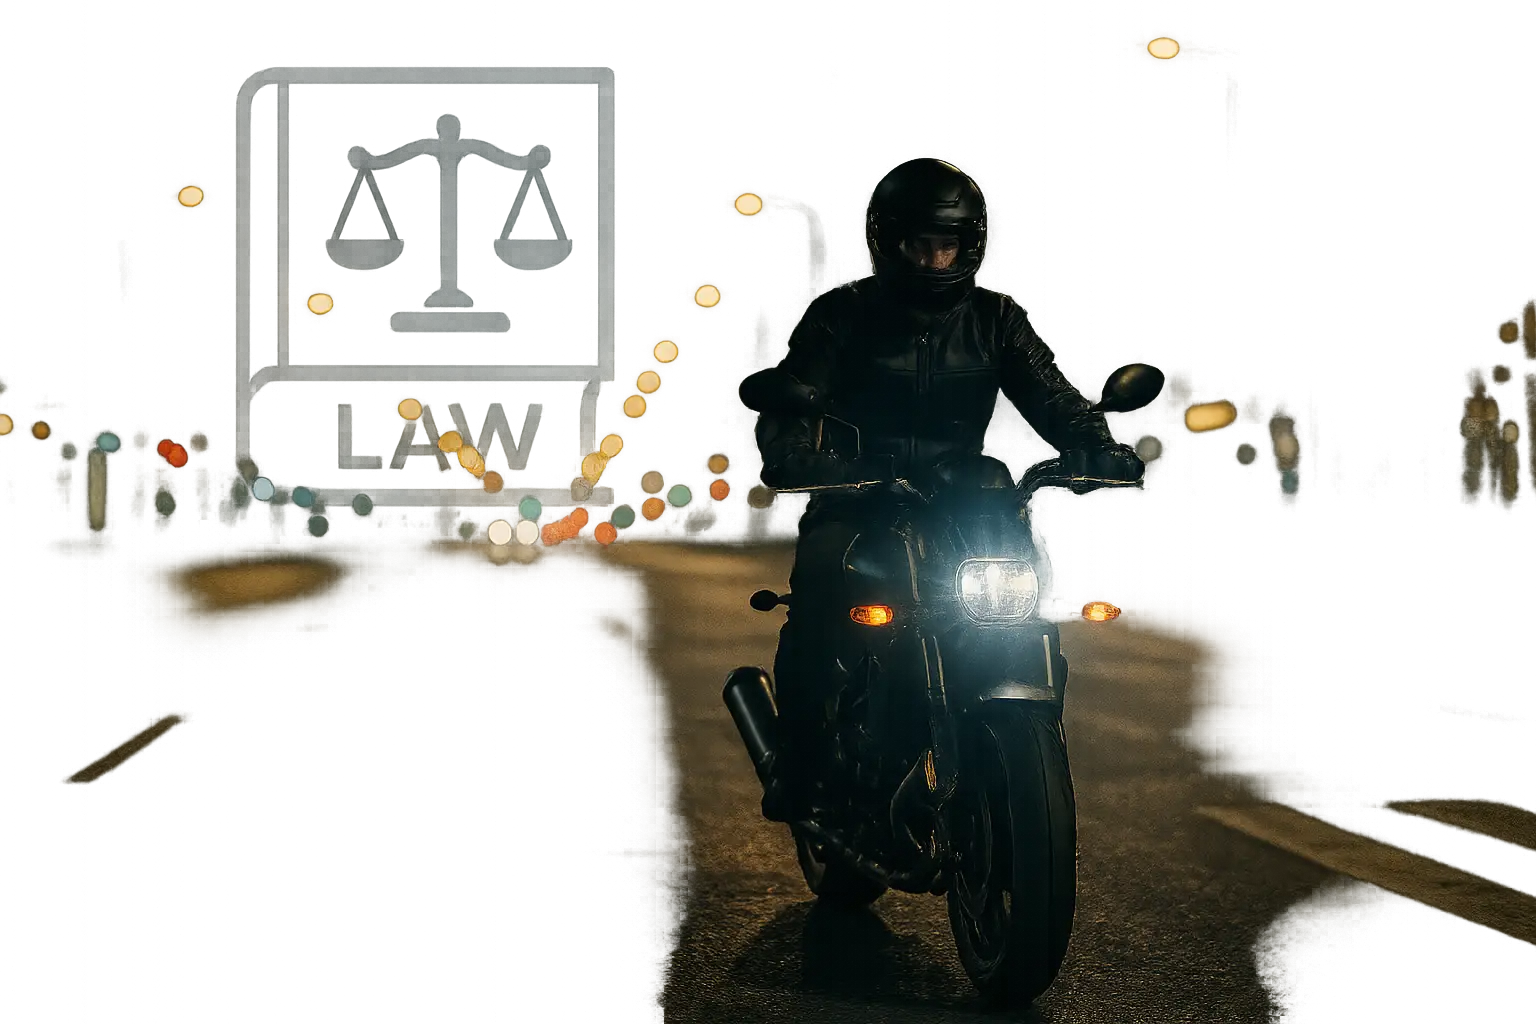
It is important to check the legislation of your country regarding the installation of additional lights. Certain criteria, such as the power, color, and orientation of the lights, may be regulated. Also make sure that the lights do not dazzle other drivers.

Installing an additional light on a motorcycle can significantly improve your visibility and safety, especially at night or in low-light conditions. Here is a step-by-step guide to installing an additional light:

  1. Choice of equipment: Make sure that the additional light or light kit is compatible with your motorcycle model. It should include the light(s), the necessary wiring, a relay, a fuse and sometimes a switch.
  2. Installation planning: Before starting, determine where you want to install the lights on your motorcycle. Common locations include the front fork, the frame near the main headlight, or the crash bars. Make sure that the lights are aimed to improve your visibility without dazzling other drivers.
  3. Mounting the lights: Attach the lights at the chosen location following the manufacturer's instructions. Use the mounting brackets provided in the kit and make sure the lights are tight and secure.
  4. Routing the wiring: Route the lights' wiring towards the motorcycle battery and to the switch location, making sure to keep it away from moving parts or heat sources. Use cable ties to secure the wiring in place.
  5. Installing the switch: If your kit includes a switch, choose an accessible location to install it. It can often be attached near the handlebar for easy activation of the lights.
  6. Electrical connection: Connect the lights' wiring to the switch, then to the relay. The relay should then be connected to the battery using the supplied fuse for extra protection. Be sure to follow the wiring diagram included with your kit to avoid any mistakes.
  7. Testing the lights: Before finalizing the installation, test the lights to ensure that they work properly. Start your motorcycle and activate the lights using the switch. Check their orientation and adjust it if necessary in order to get the best lighting without disturbing other drivers.
  8. Finishing touches: Once everything works correctly, make sure that all wiring is well secured and insulated. Arrange excess cables and ensure that nothing can rub against moving parts or heat sources.
  9. Compliance check: Make sure your installation complies with local regulations regarding additional lighting on motorcycles. This may include restrictions on power, color and orientation of lights.
  10. Contact us: Despite these explanations, if you are unable to install your additional lights on your motorcycle, you can contact us by phone or email. We remain at your disposal to help you 😉

Guaranteed Fit

All our motorcycle lights are guaranteed to fit perfectly and will exactly match your vehicle's original factory parts.

Fast delivery

Your order will be processed and shipped as quickly as possible, and we offer express delivery options within 24h/48h.

Tested and approved products

All our LED products, bulbs, and kits are rigorously tested by experts in our assembly workshop.

Need advice?

We're eager to hear your suggestions and feedback. Please call or email us at bj.amoluo@gmail.com.